

Morning Lovelies! I do hope you are all having a fantastic weekend?
I've had a great week! My Mum and Nan have been visiting and what a magical time we've had together!So.... Todays post is a bit of a strange one, as it's a little on the technical side EEEEEEEK!!
Over the past weeks, I've been receiving a lot of messages/emails asking me about the photographs I take for my blog. Lots of people are wandering how I achieve the look/style of my photographs, especially my projects against a totally white background. So I thought I take this opportunity to write a little post and hopefully answer some of the questions that you gorgeous people have asked!
I guess photography has become as big a hobby as my project making. I enjoy it immensely and spend a huge amount of time trying to get the perfect shot. Thats why a couple of years ago I splashed out and brought myself a decent camera.
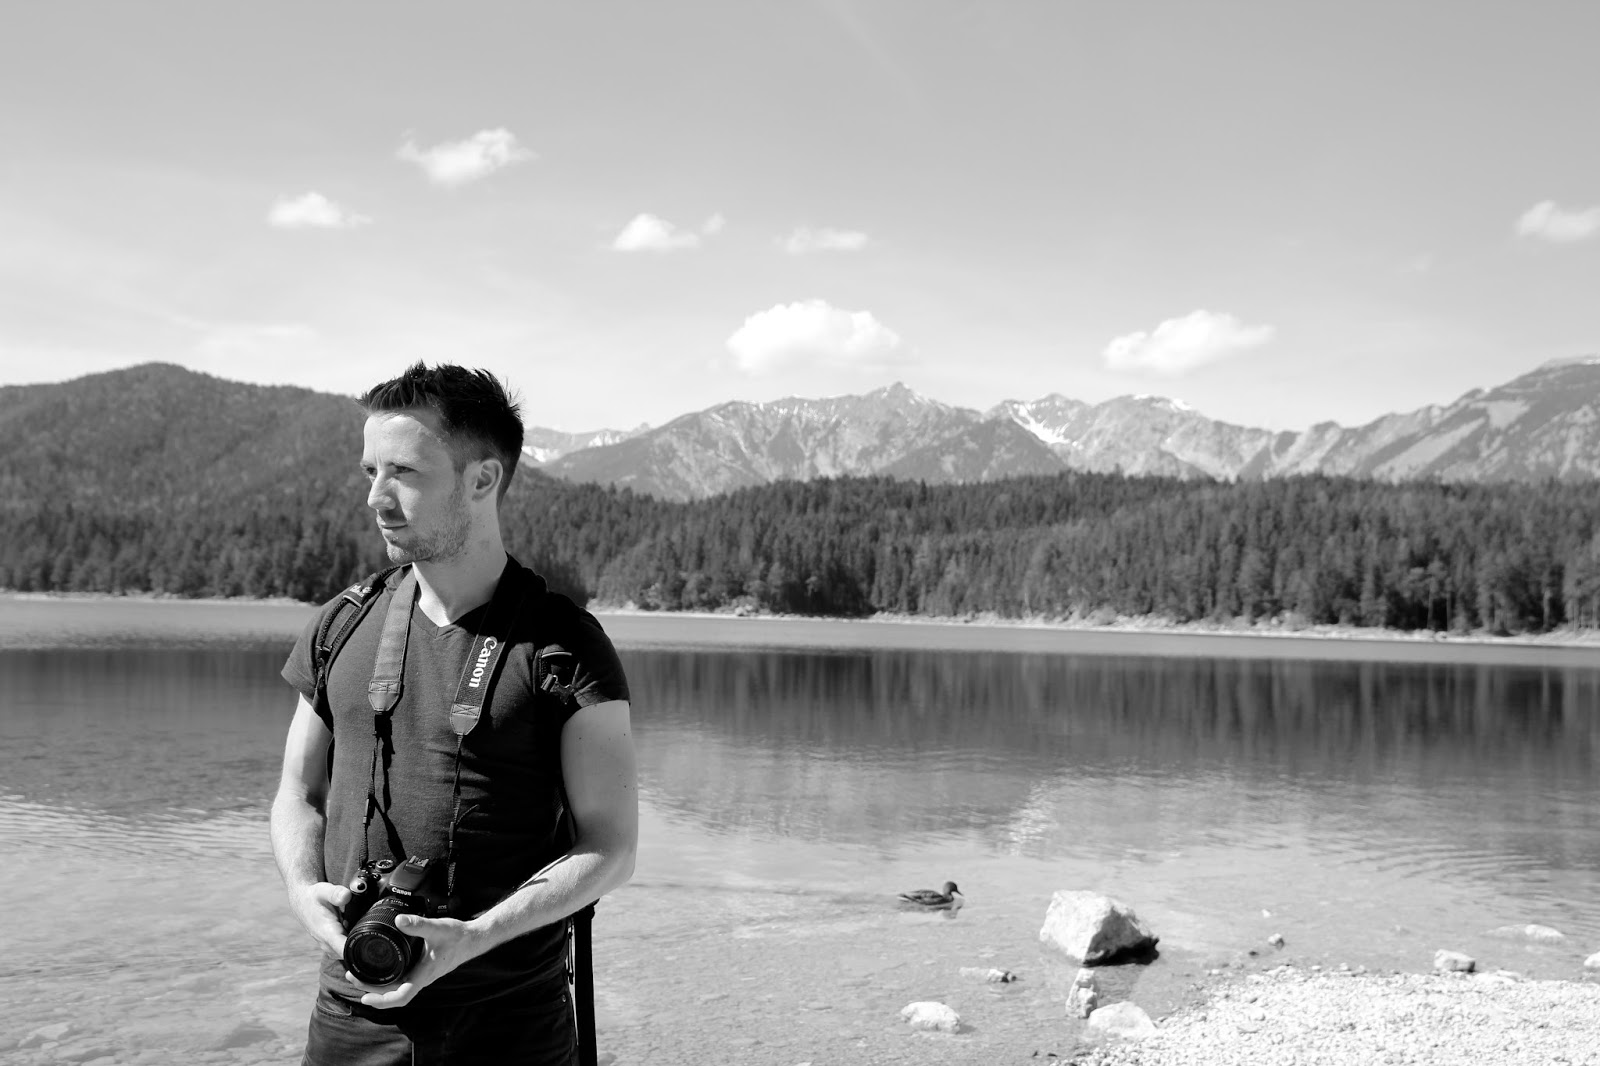
A Canon eos 600d is my choice of camera, armed with a 15-85mm lens that gives me the option of zooming in and out on a picture. What a world of difference this camera has made to my blogging experience.
I'm not going to pretend I even know what half of the functions do, but what I do know is it gives me the options of taking some really nice shots.

Looking back through my previous posts and pictures I feel like I have two major styles of photographs. The first being a project against a white background and the second being one where I heavily style and compose the surroundings of the object I'm photographing.
The photographs I take against a white background are really my favourite. They show off the project I am shooting with clean crisp results. Not to mention when these photographs are placed against my blogs white background you get the illusion that the object is floating on the page...I kind of like that!
 |

Each of my pictures with a white background are taken in a rather simple way, but the set up is in no way as clean and crisp as the final picture.
I take all off my pictures on top of the white furniture I have at home. using the furniture and my white walls as a backdrop, I can generally get a good picture.
I have a lot of white furniture at home so it's not hard for me to find a surface to use. :-)
 |
| Here's my white coffee table pushed up against the wall creating a white room for my turqouise chair to be photographed |
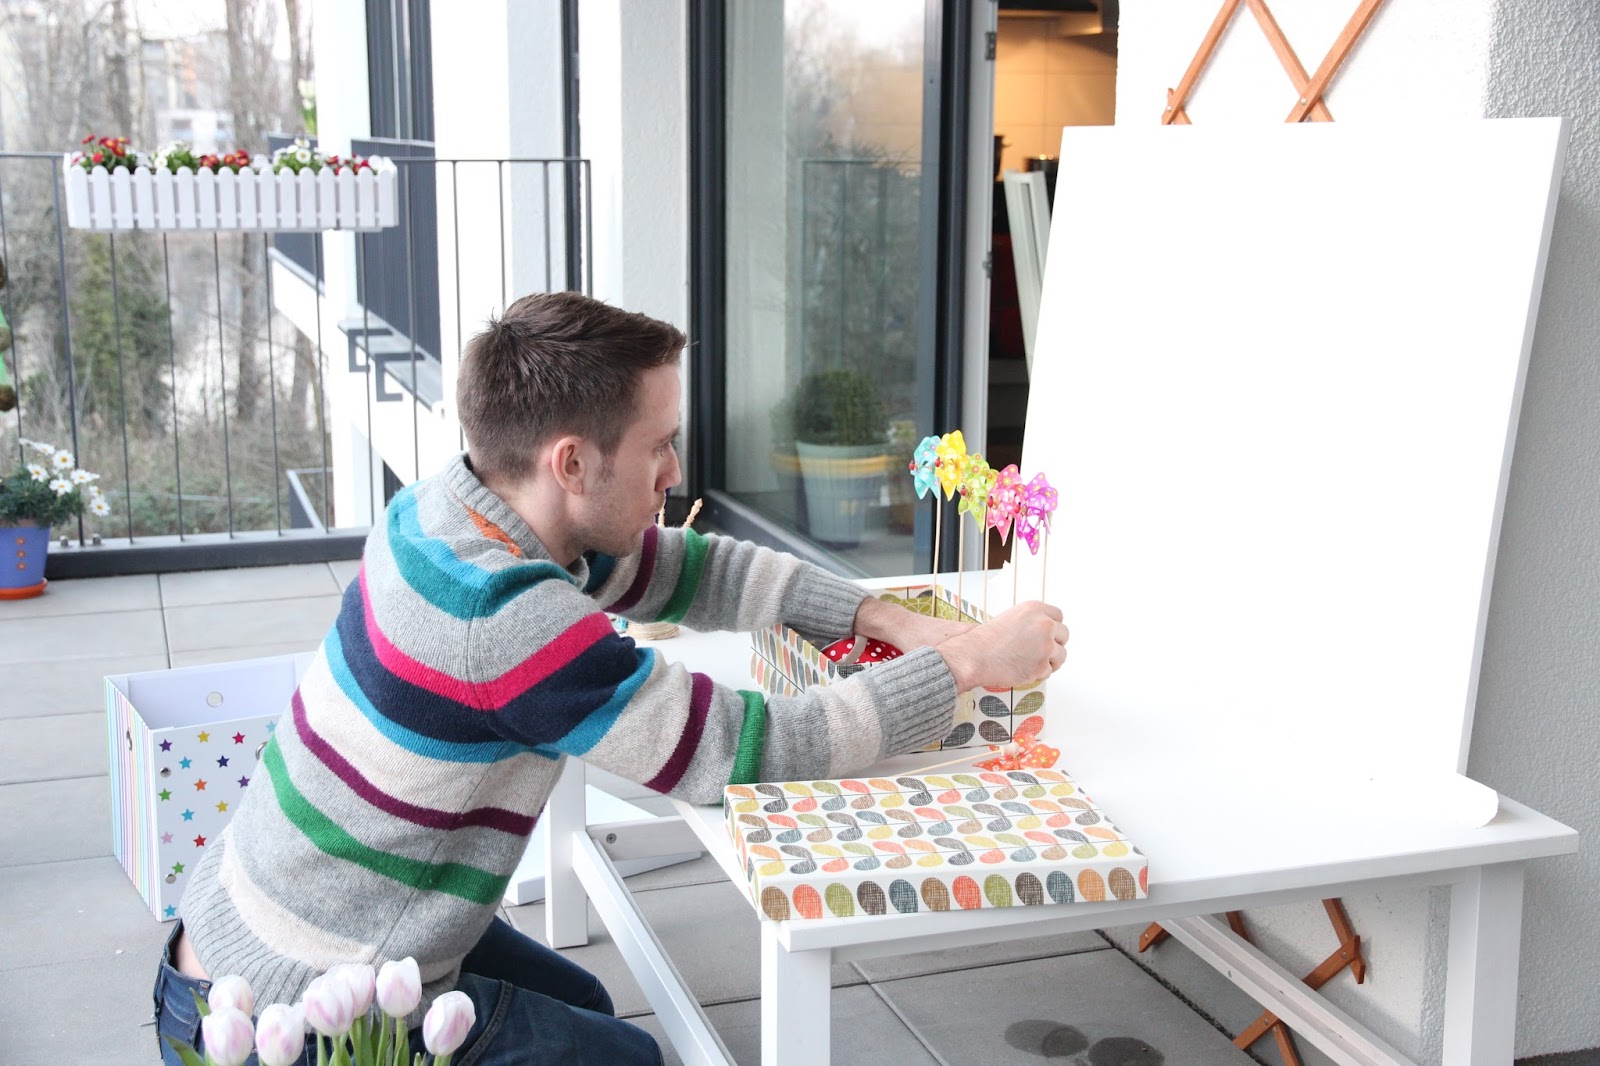 |
| When it's a little gloomy and I need the extra light, I'll take my pictures outside. |


I then (of course) give my pictures a good editing on my laptop. I work on a macbook air, and so it's nice and easy to pop the memory card from my camera into the side of the laptop and load my pictures pretty fast. Because of the convenience of this, I end up taking tons of photographs so that I have lots of options to work with.
Normally I start by cropping my picture using iPhoto and trimming out any unwanted edges:

I then have a little play around with adjusting the exposure and playing with the contrasts of the colours. This usually sorts out any of the dark shadows left from the background.

And I'm done! Nice clear white background!

Sometimes I have pictures that I've taken and the background isn't quite so simple to edit. In this case I use a slightly more advanced programme on my laptop, Adobe Photoshop Lightroom.
This programme is amazing because you can select specific areas to lighten, blur out or adjust, something that iPhoto doesn't allow.
Take a look at just how heavily I can adjust the picture below:
 |
| Original picture |
 |
| I crop to the area I want to work with |
 |
| Using Adobe Lightroom I can adjust specific areas taking out any darkness or shadowing that I don't want. |
 |
| Here's my final picture! |
As for the other pictures on my blog. I tend not to edit them quite so much! Instead I work a lot more on the set up and style of the picture before I take it. Creating a very stylised picture.

People often comment on how amazingly beautiful my apartment looks in the photos. Yes.. my apartment is lovely, but the pictures are definitely not the reality. For the picture below I literally rearranged my whole apartment. The sofa, coffee table and rug were moved so that I could use the wall with the pictures hanging.
The bedside table was moved from the bedroom into the living room. Then I added a few boxes and props that normally live in various other areas of the apartment.
Definitely not an easy task! But I did get some nice shots, so it's all worth it in the end.
Other photos are easier.....Here I simply placed some faux flowers on my crocheted blanket and I feel it transformed the picture adding personality and a personal touch to the picture.

I hope this answered a few of your questions and that you have a better understanding off how I setup, take and edit my photographs.
Each photo shoot I have I enjoy immensely and think that the hard work I put into each shot is well worth the finished image I end up with. They are everlasting and memories of each project I take....or at least until my computer crashes!!!! That reminds me I really should do a back up of my laptop!!!

You can read an updated and revised version on our new blog.

Click here to read this post in full at it's new home!
Thanks for these explanations ! It's not easy to work photos and have the right effect ! Have a lovely sunday !
ReplyDeleteI've always admired your shots. They are a huge inspiration to me :-)
ReplyDeleteThanks for your breakdown of how you manage to capture such amazing photos. Love your blog!
ReplyDeleteThanks for sharing the tricks, Matt!! I just love your photos and always wondered how you did the white background!! :)
ReplyDeleteTotally awesome!! :-) thank you so much for such a great explanation. :-) I totally admire your shots! :-)
ReplyDelete-Ranjitha
Thank you for agreat post and lovely photos
ReplyDeleteThese are beautiful photographs. I like the way you explained how you're getting them. You had me laughing at the bit about rearranging your apartment for the shot. Awesome... and yeah the shot was amazing too. Looking forward to reading more.
ReplyDeleteAmazing. Thank you for taking the time to give us a behind the scenes peek and for the effort you put into your beautiful shots.
ReplyDeleteI have just found your blog and I am mesmerized! Your works are too beautiful for words...
ReplyDeleteGreat tips! Thanks for sharing! I'm always looking for ways to improve my photos on my blogs...
ReplyDeleteI do similar things.. but your white backgrounds really are your signature and that's really neat!
ReplyDelete((hugs)), Teresa :-)
Thank you Matt , I like your photos !
ReplyDeleteHave a nice weekend
Maddy
Thanks Matt, I really going use this for my blog.
ReplyDeleteI am trying so hard. But need a special programm I see now
http://cute-amigurumi.blogspot.nl
AmiFan
I've always admired your photos, thanks for sharing these tips :-)
ReplyDeleteHi Matt, am finally catching up on my blog reading. Thanks for this post - it's fascinating to see all the work and effort that goes into your photography. It really is an art form but this does go to show that as well as a good eye for composition you need to take time to arrange each shot / express a vision. It definitely is worth your time as your photos are stunning! J9 x
ReplyDeletethat blanket in the chair is stunning! like a waterfall, i so enjoy your blog here Matt!
ReplyDeleteThank you for sharing your secrets! You are so generous with your knowledge, thank you!
ReplyDeleteFantastic stuff, you're a perfectionist and it's really pays off as this is a fabby blog.
ReplyDeleteHi Matt, thanks for the post....you are great at what you do...a perfectionist, I agree. Each and every post of your blog is very refreshing...
ReplyDelete