Hello there!! My aren't you looking fabulous this evening! I'm so glad you could join me!
I have another little Christmassy project to share and hopefully inspire your creative minds!!
Ever since transforming some old jars over the summer (read about it here) I've been kind of hooked on the idea of making-over old glass jars. I thought it was about time I put my ideas to the test and once again recycle some more beloved jars, but this time for the festive season.
I've been busy eating my way through various types of jarred food, so that I'd have some tools for this project :-)
I can't tell you how quick, simple and satisfying this project is!
You just need some old jars and string, plus a sprinkle of creativity! Here's what I did:
I ate my way through a jar of gherkins, peeled off the label and washed the jar out.

I placed a blob of glue in the position where I wanted my string to begin.
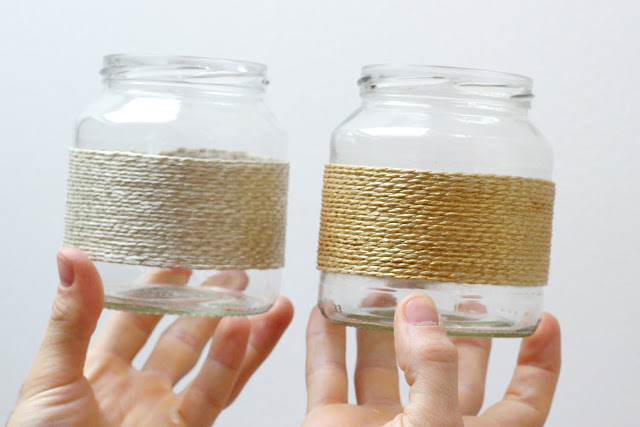
I attached my string (I just bought this from the local supermarket) to the glue and started to wind it around my jar as neat as possible.
Every now and then I'd add a blob of glue to secure my string.
Once I was satisfied with the amount of string, I fixed it with one final blob from my trusty glue gun.
Oh how simple and neat that looks!!
For that Christmassy touch, I gave the string a little covering of gold acrylic paint.
I like the natural look of the string, but I love the gold Christmassy string!
I pulled out my collection of embroidery thread, buttons, bells and ribbons, and made myself some cute little decorations.
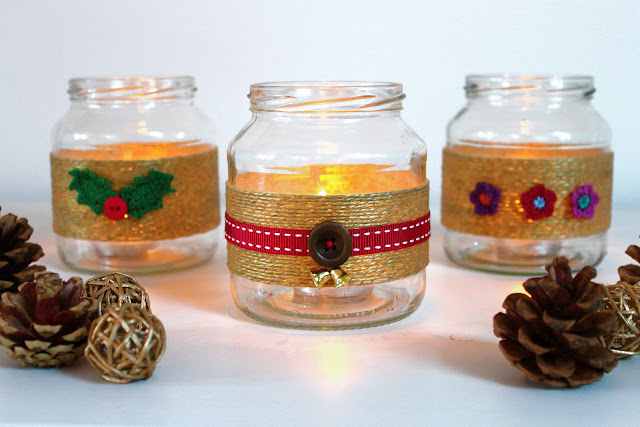
I added some Christmas holly. (Using Lucy at Attic24's Jolly Holly pattern)
I added festive ribbon and a classic button, plus a couple of golden bells.
I crocheted some mini flowers and glued them to my jar.
Here's what I ended up with!
Cute eh?
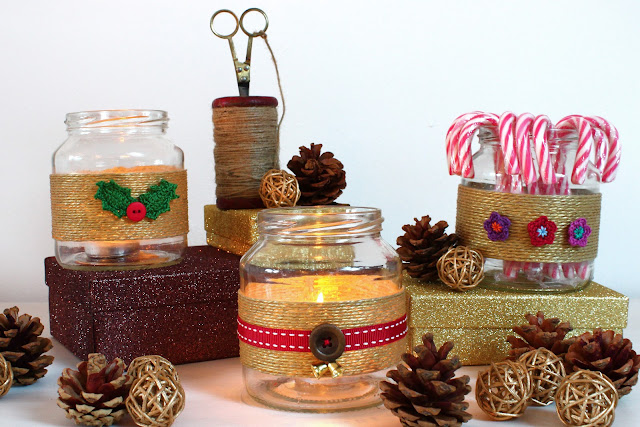
They are perfect for dotting around the apartment! I added candles for a magical glow.
and candy for festive feasts!
Not only do I love how simple and cute they are, I love that I can fill them with just about anything!
A very simple and fulfilling project!
Why not give it a whirl? I promise you wont be disappointed!!!

I have another little Christmassy project to share and hopefully inspire your creative minds!!
Ever since transforming some old jars over the summer (read about it here) I've been kind of hooked on the idea of making-over old glass jars. I thought it was about time I put my ideas to the test and once again recycle some more beloved jars, but this time for the festive season.
I've been busy eating my way through various types of jarred food, so that I'd have some tools for this project :-)
I can't tell you how quick, simple and satisfying this project is!
You just need some old jars and string, plus a sprinkle of creativity! Here's what I did:
I ate my way through a jar of gherkins, peeled off the label and washed the jar out.

I placed a blob of glue in the position where I wanted my string to begin.
I attached my string (I just bought this from the local supermarket) to the glue and started to wind it around my jar as neat as possible.
Every now and then I'd add a blob of glue to secure my string.
Once I was satisfied with the amount of string, I fixed it with one final blob from my trusty glue gun.
Oh how simple and neat that looks!!
For that Christmassy touch, I gave the string a little covering of gold acrylic paint.
I like the natural look of the string, but I love the gold Christmassy string!
I pulled out my collection of embroidery thread, buttons, bells and ribbons, and made myself some cute little decorations.
I added some Christmas holly. (Using Lucy at Attic24's Jolly Holly pattern)
I added festive ribbon and a classic button, plus a couple of golden bells.
I crocheted some mini flowers and glued them to my jar.
Here's what I ended up with!
Cute eh?
They are perfect for dotting around the apartment! I added candles for a magical glow.
and candy for festive feasts!
Not only do I love how simple and cute they are, I love that I can fill them with just about anything!
A very simple and fulfilling project!
Why not give it a whirl? I promise you wont be disappointed!!!

You can read an updated and revised version on our new blog.
Click here to read this post in full at it's new home!
