Thursday, 10 July 2014

The Dog Collar

Hey Lovelies!
I do hope you are all well?
It seems like each time I come back to my blog I have to start by apologising for being away for so long. I've had a really busy month at work and finding time to do everything I want has seemed near impossible. Things have calmed down a bit (for now) and so I'm relishing the extra free time I have and (of course) filling it with all sorts of crafty goodness. 

I was asked a couple of weeks ago if I would work on a rather special creation for a very special day. 
Some close friends of mine were getting married and wanted their cute little dog to carry their wedding rings down the isle to them at the alter. 
This sounded like a challenge and one that I was more than happy to oblige. 

The colours of the wedding were to be green and white so I got to work covering a simple cardboard trinket bog with pure white ribbon.
I added a little handle and some crocheted edging to the lid, along with overlapping ribbon to cover the main body of the box.


On the inside of the box I made a little cushion for the wedding rings to sit on. I also popped some crocheted trimming around the edge of the cushion,  to hide the join where I had connected it to the box. 


I covered the inside of the lid with bright green felt. 


I crocheted the actual collar using some white mercerised cotton and added some little buckles so that it was easy to adjust and tighten when the time came to putting it on the dog. 
With a nice layer of fabric glue, I added ribbon to the top of the crocheted collar for that extra bit of detail.


 I crocheted little flowers out of green and white embroidery floss.


I added a little sparkle!!!


I love this part of a project, when you can add all of the trimmings and make a creation just that little bit more special. 

For this project it was the little flowers. Adding them to the simple collar and box really transformed it into something rather elegant.  


All finished and ready for the important job of transferring the rings down the isle.


Of course I had to fit the collar to Hayley (the ring bearer), she took to it rather well and did the most amazing job of trotting down the isle with the rings on her back.


It was a beautiful wedding full of love and laughter. A big CONGRATULATIONS to my friends who I'm sure will share a very long and happy marriage with each other. 

What a fun project that was and so different from my usual crocheted items!


If I add this project to the wedding bouquet Dennis and I made a few months ago, we could open a crocheted bridal boutique! 

That would be fun!!!

This post has moved!
You can read an updated and revised version on our new blog.

Click here to read this post in full at it's new home!
Sunday, 15 June 2014

Spiral Cushion

Hello lovelies! How are you all doing? 
I'm doing very well thanks! I've been a tad busy over the past month and my work schedule has definitely been consuming my time. Even though I haven't found the time to write any blog posts, I made sure I still had some hooky time for myself.   

Remember back in March when I shared some of the new yarn that I had bought....


I've been playing around with this yummy cotton (Cottonell by Wolle Rödel) and have enjoyed working with the vibrant colours that I had purchased.


I've been working on a rather charming cushion pattern and decided to keep it very simple and only use a couple of colours from my colourful collection. 
I decided upon the bright pink and the luscious shade of lime, a combination that really contrasts with one another.

Once I had made a choice of yarn colour, I gathered my essential hooky tools and got to work on this fun project.

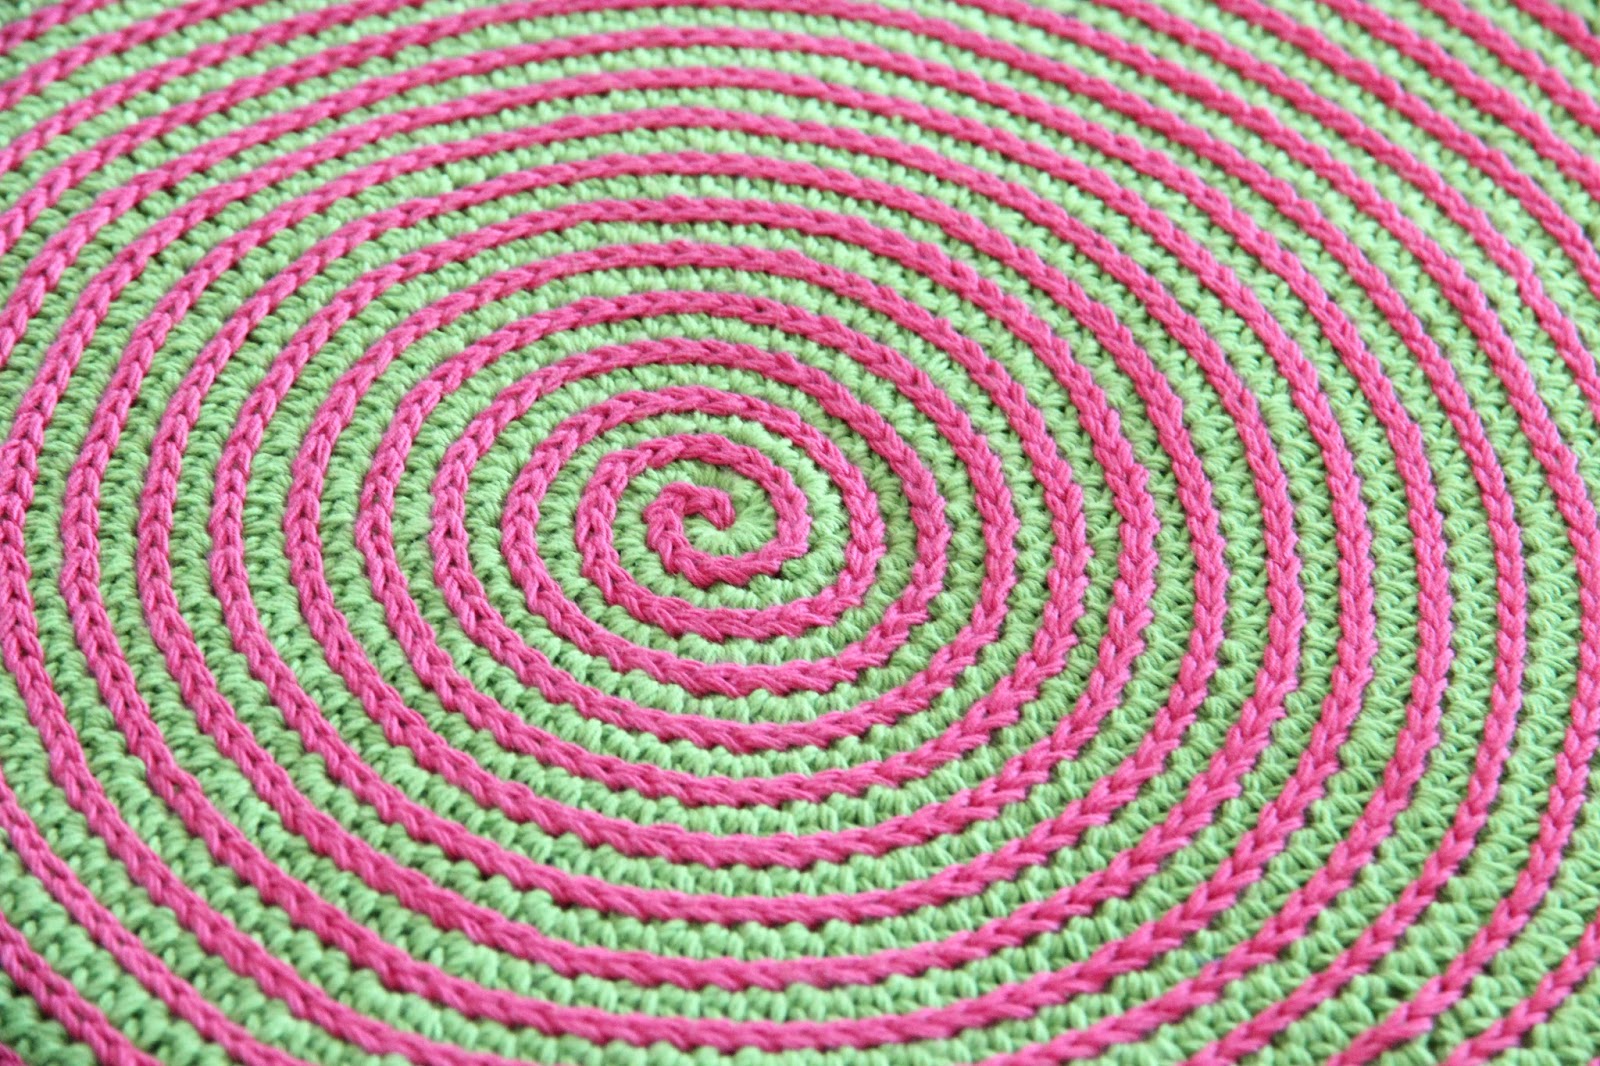
I started off with an adjustable loop and with half double crochets. I crocheted round and round in a continuous spiral.


Using a stitch marker to indicated the beginning and end of each round.


I crocheted until I had a circle just the right size to match the diameter of my 14inch round cushion.


Once my circle was big enough I fastened off and began to work on some contrasting spiral detailing. .


Doesn't the pink clash with the green in a rather splendid way!?


Round and round I went, following the spiralling holes of the half double crochets.


Once finished I had a rather psychedelic looking cover for my cushion. It was a little wrinkled...


But nothing a light steam wouldn't fix.


It looks a little 70's inspired!


I made two of these circles, both using green as the main colour and pink for the spiralling detail. Once finished, I had an identical top and bottom to my cushion cover.


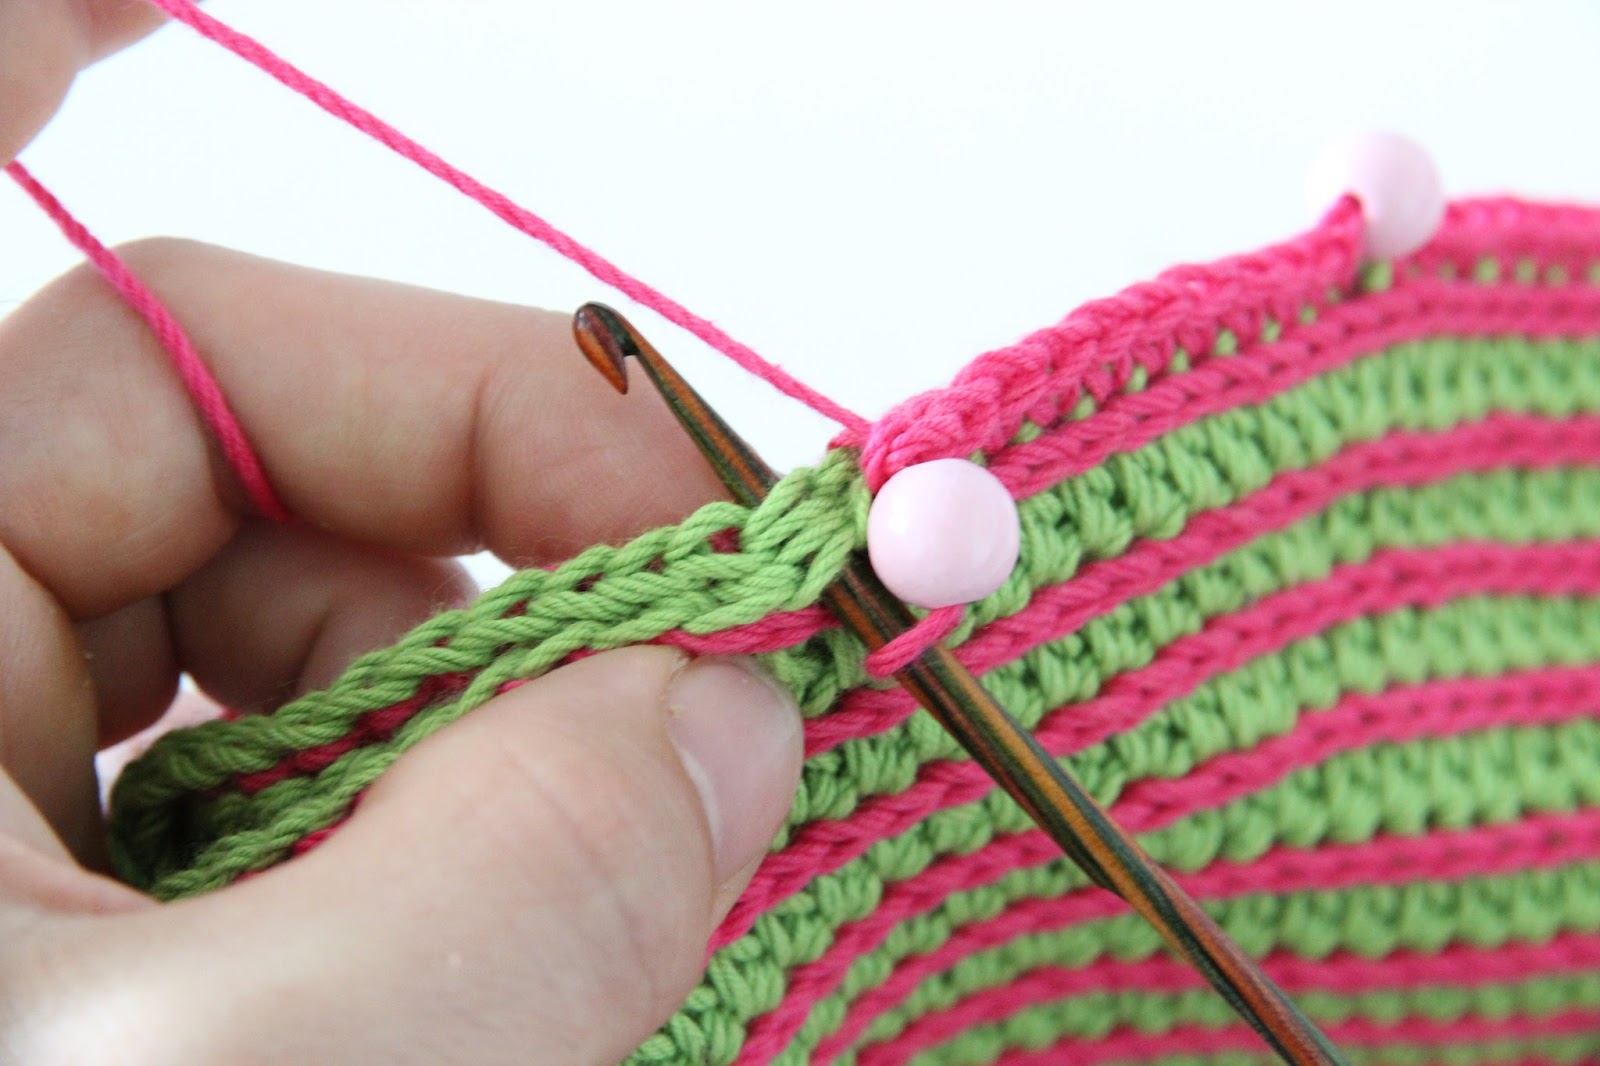
I sandwiched my cushion between my crocheted spiralling circles and stitched the circles together with a simple single crochet.


Every now and then I would add a bead or two to the single crochets. Just to add a little extra flair to my cushion!


Once finished, I fastened off and was left with a very neat and Summery looking cushion that just oozed happiness!


Simple, but busy! The spiral effect is almost hypnotising!


This jolly cushion complements my turquoise chair wonderfully....


and is rather at home lying in the centre of my bed, looking as if it has always lived there!


This was a rather fun and simple project. I'm extremely happy with the results and am going to get busy making a few extra cushions with the other coloured yarn I have. 
I thought you may also like to have a go at making one, so I wrote up the pattern for you! You can find all details along with the pattern, by clicking on the link below or by following the pattern for "Spiral Cushion" on the flip down tutorials menu at the top of the page. 


I do hope you have fun making it!

This post has moved!
You can read an updated and revised version on our new blog.

Click here to read this post in full at it's new home!